Now that I've at last solved the problem of the missing trim, it's time to get back to rehabilitating the east window casing.

With the exception of the cap pieces, the east casing is in worse shape than the west one. It has taken a thorough physical thrashing. This is most likely the work of pine boughs from the adjacent tree, long since trimmed, that did considerable damage in this area of the house. Parts of the casing, notably the vertical pieces, were heavily split, splintered and shredded. The aprons under the cap pieces, as we saw in the last two posts, are cracked extensively; while some of the loose pieces have been nailed in place, several others were hanging precariously.

You can see here, where the cap piece I removed goes, why it was so loose despite the dozen nails driven through it; decades of movement in the wind and weather had enlarged the nail holes into craters.
Overall, the wood is generally soft, seemingly more from oxidation than sun damage; a light exploratory first sanding removed an alarming amount of wood before I could take notice.

This was just from one pass with a quarter-sheet sander using a medium-grit paper; it tore right through the paint and the top layer of wood. Notice how chewed-up the wood in the upper-right portion of the photograph appears, and how flattened the triple-bead pattern is. There's no real evidence of sun damage here; it appears that the last coat of paint was put down over a layer of heavily oxidized wood, which you can see clearly in the darkened area in the lower right corner (where I eased up when I finally took note of what was occurring).
So I stopped sanding for the time being in order to do some preparatory work first. I applied LiquidWood liberally into the cracks and onto all the areas of severely damaged wood. One area was so thoroughly shredded, however, that I couldn't get enough glue in where I needed with my normal techniques, so I pulled out a new tool that I recently ordered from Abatron: a large (60 cc/2 oz.) syringe.
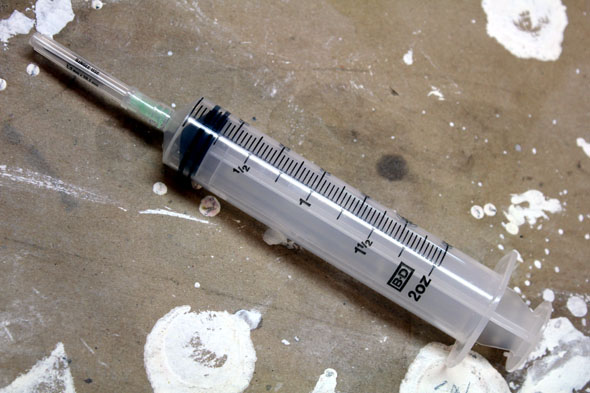
I've tried medical syringes before with LiquidWood, but the needles were too small to pass the thick liquid. This one, however, worked like a charm, allowing me to inject the epoxy deep into the cracks.

After clamping and curing, the piece was quite solid.
One particularly odd circumstance of this casing is that the right vertical piece is distinctly out of place:

As you can see by comparing it to the sill and the apron below it, the right vertical piece is a half-inch off-line to the right, and the same is true at its other end. As we've learned, when a piece is noticeably off-line like this, there is a story behind it. The house did offer a clue as to this story, but in the pictures I've shown you so far it's already been removed. So let me reach back a bit in the archive to show it to you:

In this detail of a picture taken just before I began work on this casing, you can see an extra board nailed in at the top of the window opening. This window lights the room Anne Wilson occupied for at least the last few decades of her life, and it seems to me that the most likely explanation is that this board was put up to shield her eyes from the direct intrusion of the sun at midday. Apparently whoever installed this board didn't have a saw handy to shorten it a half-inch, so he instead removed the right vertical piece and moved it over to make room. Now, that's a bit too ad hoc, even for me! I'm leaving the board right where it is; it's far too fragile to move.
The one part of the casing that is in relatively good shape is the left cap piece:

It's more or less sound and in its proper place; it's only chewed up where extra nails were driven through it and at the top where it was most vulnerable. Once I patch it out to its extents, it will look just fine, and match up with the other cap piece neatly.
I'm not quite sure exactly how I will proceed from here; it will all depend upon what I find after a very careful, gentle sanding of all surfaces, If I find that the softness I've found in part of the casing is extensive, I will have to do something to harden the wood before I restore the surface; possibly I may paint it with a coat of LiquidWood diluted with an equal volume of its natural solvent, a proprietary mixture called Abosolv. I'm thinking that this will harden the top layer of the wood sufficiently without interfering with the establishment of a reasonably flat, uniform surface. To use undiluted epoxy all over would add considerably to my work.
* * *

Just when you think it couldn't get any worse!
ReplyDelete