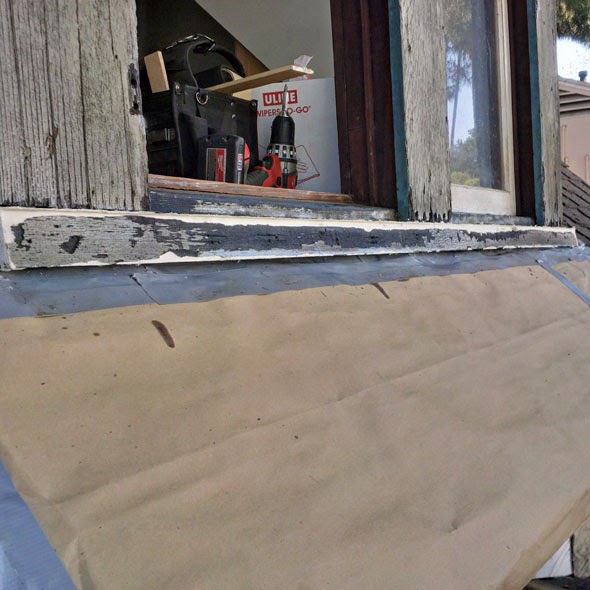
With the sashes back in place and fresh WoodEpox at last in hand, it was time to get back to the sill work.
As I mentioned a few posts back, the reason why I needed fresh WoodEpox was that the tub of Part B of my prior supply had fallen and gotten cracked, exposing that material to the air. Hoping it had not been that way for long, I went ahead and used it. Apparently it had indeed been that way for a long time, because I found the mixed putty to be very stiff and hard to tool, creating quite a mess.

When I removed the forms. I discovered that although I had done my best to work the putty into the forms, it had actually gone in only a very small distance, falling far short of filling the gaps.
This may not look like a particularly bad result, but I had failed to establish enough of an obvious shape for me to be able to proceed on eyeball judgment alone. I needed more guidance than this blob of a half-done sill was giving me.
So the first thing I did, once I turned my attention back to the sill, was to put the forms back on and slowly sand down the high spots, using the forms as a guide, while being very careful not to sand the forms themselves. Once I got as close to them as I could, I took the forms back off and proceeded from there.
Still needing more guidance, I made a cardboard template of the north sill. First, I used my trusty profile duplicator tool, making sure I took a nice straight reading perpendicular to the front surface.

Then, I transferred this profile to a good stout piece of cardboard and carefully cut along the line with an X-Acto knife.

Before proceeding, I checked the accuracy of my template by comparing it with the original. It didn't have to be absolutely accurate, but I was very pleased with how accurate it was.

I was then able to use this template to evaluate just where to sand, and where to add more putty. Eventually, I realized that one of the problems that was throwing me off was that the sill had a crack all the way through to the back that was not immediately evident because it occurred at the inside angle right where the lower sill met the upper sill, so there was no visible irregularity along the crack itself.
It was quite a long crack, reaching from the left side all the way to the left edge of the middle casing board. Apparently, the roofers had jammed shingles behind the split part, causing it to flare gradually forward so that it was a half-inch further out at the left end than it was in the middle.
There wasn't any point in trying to correct for this, mainly because it was a gradual-enough deviation that it was undetectable unless one was actually standing out on the veranda roof looking down at it. So, I drove some screws down at the proper place to stabilize the sill and prevent further movement, then puttied up the screw holes and proceeded as if everything was going really well. The fact is, it was going plenty well enough.
Then I noticed that the upper sill under the left window opening was quite worn down, so that it was a quarter-inch low in the middle. This was strange, because the other three upper sills had not had more than superficial wear on them, having been relatively protected behind screen frames for most of their existence. I immediately thought to myself, why did this happen? What is the house trying to tell me about its past?
Then I realized that what it was telling me is that I'm an idiot. I had gone in and out of that very window hundreds of times while working on the north dormer, usually quite clumsily. I had caused that wear my own dang self!
Properly humbled, I cut a guide strip, coated it with mold release compound, and built the upper sill back up in that window.

With everything all nicely filled in and sanded, I took another reading along the entire length of the sill with my template, and realized that, once I corrected for the flare on the left side, the front of the sill curved back towards the house at each end. You see, back when I had first attached the forms to the sill, before I'd put on any putty, I had forgotten to correct for the increased wear that naturally occurs along the front of a sill at each end. I really should remember to review my old posts when I start to do something I haven't done for a while.
And so, more guide strips, and more putty.

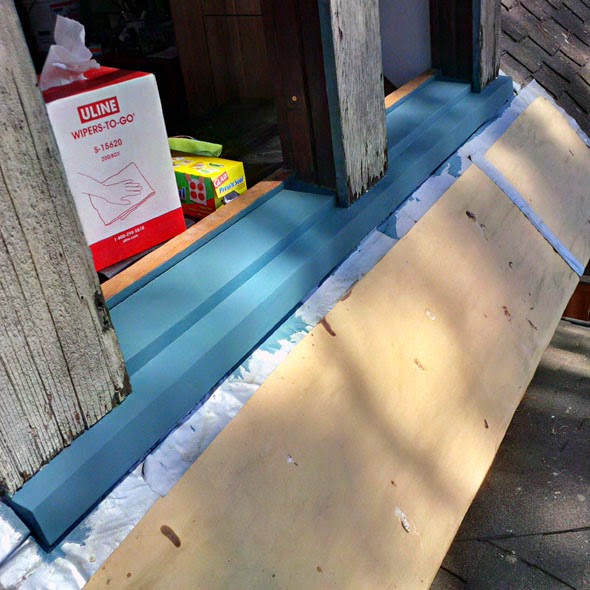
Then, remove the forms, fill in the screw holes, sand a little more, and voilá! A nicely-restored sill, at last. Note that the narrow strips of sill between the casing boards are far less worn than the rest of the lower sill, as evidenced by how much of the actual wood is still showing there. This is more evidence that these windows had screens for most of the house's existence.

Then, one last step: a coat of primer to protect the epoxy putty from that nasty old sun and its fatal ultraviolet rays. I learned that lesson with the north sill, when I had to do some quick re-patching at painting time.
And now, time to put up the scaffold and get on with the rest of the job.
* * *
 |
| One of my biggest fans. |
You are a complete original! Demonstrates the many uses of an X -Acto knife and your great pattern making skills. From Your Biggest Fan!
ReplyDeleteGlad to see that I wasn't responsible for the wear and tear of the sill. It was the roofers! :-) Squirrel
ReplyDeleteYour biggest fan is so presious! But the window of my house in Spain is so bad!
ReplyDelete